
Using Raysly with WooCommerce
How to use the Raysly plugin on WooCommerce: the offer form shortcode and block, the Get instant offer page, opt-in checkout leads, product sync and removing the plugin.
Last updated
This guide is for installers who have installed the Raysly plugin. If you have not, start with Install Raysly on WooCommerce.
The "Get instant offer" form gives your visitors a tailored solar offer in minutes, and every enquiry lands in your Raysly lead pipeline, ready to follow up.
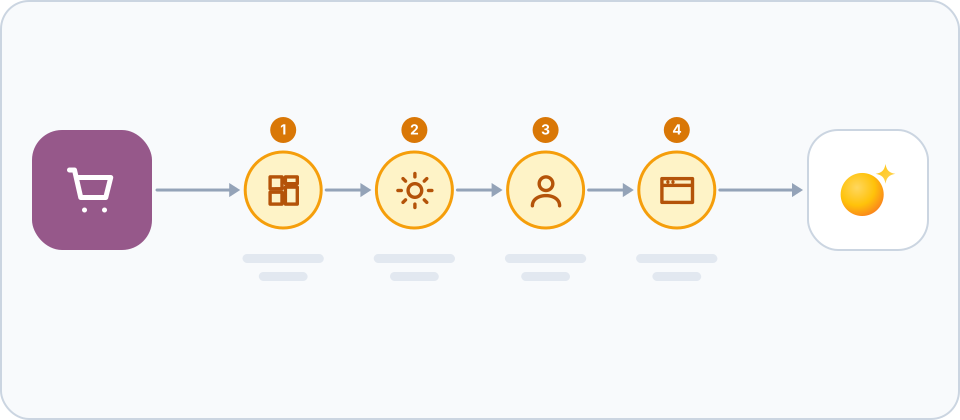
Show the offer form
- Shortcode: add
[raysly_offer]to any page or post. Addlocale="de"(two letters) to force a language. - Block: in the block editor add the Raysly offer block.
- Language order: the shortcode or block setting first, then the plugin setting, then the site language.
- If the plugin is not configured, administrators see a short notice where the form would be; visitors see nothing.
- The plugin shows no prices, grants or tariffs itself. All figures in offers come from Raysly.
The Get instant offer page and menu link
- On activation and when you save the settings, the plugin makes sure one page exists with the slug
get-instant-offerand the form on it. It reuses a page that is already there and never edits or deletes a page afterwards. Turning the setting off keeps the page. - The "Get instant offer" menu link is off by default. When on, it is added when your menu is rendered and is never written into your menus, so switching it off removes it at once. You can change the link text (up to 40 characters; empty means "Get instant offer" in English, German, French, Italian or Greek, following the site language).
- Themes that print their menu with their own code, mega menus and page builders may ignore the menu link, and caching plugins can show an old menu until cleared. Link to the page yourself in those cases.
Change how the form looks
The WooCommerce → Raysly screen has the look settings for the form. Each value is checked when you save it and again when the page is built.
- Look of the form: match your theme (the default), use the look saved in your Raysly account, or the Raysly look.
- Raysly cookie notice: on by default. Turn it off if your shop already asks visitors for cookie consent; the form then collects no consent, so Raysly analytics stay off.
- Page layout: "bare" (the default) shows only your logo or shop name, a way back to the shop and the form on the dedicated offer page; "theme" shows the form inside your theme. Product pages and the order confirmation always keep your theme.
Send checkout leads to Raysly (optional)
Lead sharing is off by default. Under WooCommerce → Raysly, choose Which orders: checkout opt-in (default) or orders containing products from categories you pick, then confirm the lawful basis and switch sending on. Until you confirm a lawful basis for sharing, nothing is sent. The leads land in your own Raysly account, and you are the data controller: Raysly processes them on your behalf, only on your instructions, under its data processing agreement.
- What is sent: name, e-mail, phone, billing address, city, postal code, country, company, the customer note, site language, your site address and the order number as a reference.
- What is never sent: card or payment data and money amounts.
- One lead per order, so reloads and retries never create a duplicate. Checkout never waits for Raysly.
- Checkout opt-in: checkout shows an unticked box "Share my details with (your company) to receive a solar offer". Only ticked orders are sent. The block checkout box needs WooCommerce 8.9 or newer; on older versions no block-checkout order is shared.
- Product categories: only orders containing a product (the parent product for variations) in the chosen categories are sent, and no box is shown. Say on your own privacy policy which lawful basis you rely on.
- The qualification is checked again when the background job runs, so switching sharing off stops queued leads.
Link your products
On the plugin screen, Sync my products to Raysly (Products card) creates one read-only REST key for Raysly in WooCommerce and sends it to Raysly once, so your products are available for offers. It is shown when you connected with one-click connect and Raysly reports product linking as available. The plugin keeps only the key id and deletes the key when the call fails, when you disconnect and when you uninstall.
You can also connect your catalogue from Raysly: open Settings → Integrations, find the WooCommerce card and paste WooCommerce REST API keys with Read permission (WooCommerce → Settings → Advanced → REST API → Add key).
Disconnect or remove Raysly
- Disconnect on the plugin screen revokes the key in Raysly and deletes it from your site.
- Uninstalling the plugin revokes the key as well as it can, then deletes its settings and queued jobs.
- Leads already sent stay in your Raysly account.
Frequently asked questions
Does checkout slow down?
No. The checkout only marks the order, and a background job sends the lead afterwards. It retries a few times if Raysly is briefly unavailable.
Where can I get more help?
Still stuck? Email support@raysly.com and tell us the platform, what you clicked and what you saw.