
Install Raysly on WooCommerce
Install the Raysly plugin on WordPress and WooCommerce, connect it to your Raysly account in one click and add the Get instant offer form to your shop.
Last updated
The Raysly plugin adds the instant-offer form to your WooCommerce shop and can send opted-in checkout customers to your Raysly lead pipeline. Your products, checkout and invoices stay in WooCommerce.
Before you start
- You need a Raysly account. If you do not have one yet, create a Raysly account first.
- You need a WordPress administrator login for the site. WordPress 6.5 or newer and PHP 7.4 or newer. WooCommerce 7 or newer is needed for checkout leads; the offer form also works without it.
- Your site should be served over HTTPS.
Install and connect
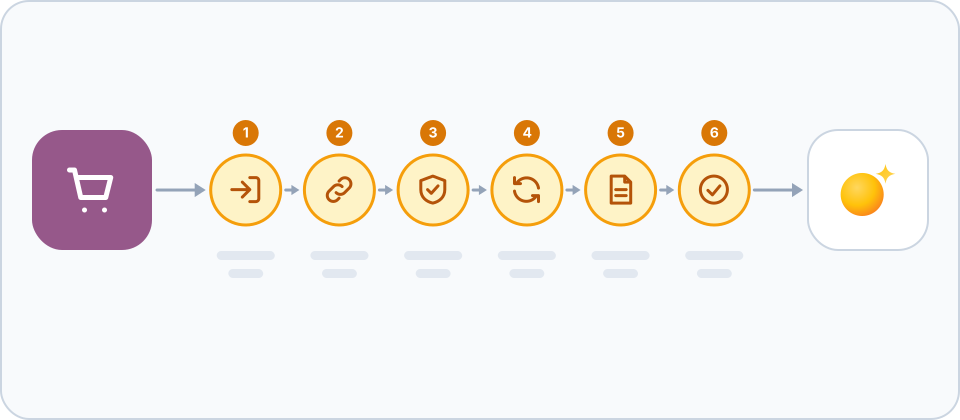
- Get the plugin package. Raysly supplies the package as a ZIP file. Request the current version from Raysly support at support@raysly.com.
- Install and activate the plugin. In your WordPress admin go to Plugins, then Add New, then Upload Plugin. Choose the Raysly ZIP, install it and activate it.
- Open the Raysly screen and click Connect to Raysly. Go to WooCommerce → Raysly as a site administrator and click Connect to Raysly. The screen lists what the connection will and will not do before you click.
- Confirm the site in Raysly. Raysly opens in your browser and asks you to sign in or sign up. Check that the address shown is your website, optionally tick "Also show the Raysly offer widget on this site", and click Connect. You land back on the plugin screen showing Connected to your Raysly account, with the tenant ID, the site, the masked key and the widget host.
- Choose which checkout customers become leads (optional). Pick which orders to share (checkout opt-in, which is the default, or orders with products in chosen categories), tick the lawful-basis confirmation and switch on sending. Until both are done nothing is sent.
- Link your products (optional). When the plugin is connected with one-click connect and Raysly reports that product linking is available, the Products card shows Sync my products to Raysly. Click it so Raysly can read your products for offers. See the user guide for what it shares.
What the connection can and cannot do
When you connect, Raysly creates an API key for this shop that can only create leads (permission leads:write) and sends it securely to the plugin or module. The key cannot read or change your products, prices, orders, customers or settings. No key travels in a URL, and you never copy or paste one. Disconnecting in the shop revokes the key in Raysly.
To start the connection, your site sends its address and name, basic settings (country, currency, language, time zone) and its platform and plugin versions. If you create a new Raysly account from the link, the shop admin e-mail is offered as a suggestion you can change. The request is deleted within about 25 minutes.
Connect manually (advanced)
If you prefer, open Connect manually (advanced) on the plugin screen and paste the tenant ID and widget host from Settings → Website widget (add your shop address to the list there first) and a key with the leads:write permission from Settings → API keys.
If you remove the plugin
- Disconnect on the plugin screen revokes the key in Raysly and deletes it from your site.
- Uninstalling the plugin makes a best-effort revoke of the key, then deletes its settings, pending connect data and queued jobs.
- A key you pasted by hand is not revoked from the plugin: revoke it under Settings → API keys.
Frequently asked questions
Do I need a Raysly account first?
Yes. Raysly connects a shop to your Raysly account, so you create the account first and then connect the shop. Create a Raysly account if you do not have one.
The confirmation page expired. What now?
The request is valid for 15 minutes from when you clicked Connect to Raysly. Go back to the Raysly settings screen in your shop admin and click Connect to Raysly again.
Connect to Raysly says one-click connect is not available. What now?
The screen says so when one-click connect is switched off for your account. The manual fields keep working: under Connect manually (advanced) paste your tenant ID and widget host from Settings → Website widget, and a key with the leads:write permission from Settings → API keys.
I do not see WooCommerce → Raysly. Why?
Check that the plugin is activated and that you are signed in as an administrator. Only administrators can open the connection fields.
How many shops can I connect?
Raysly limits the number of connected shops per account. The limit and your connected shops are shown on the Shop plugins & modules card in Settings → Integrations.
Where can I get more help?
Still stuck? Email support@raysly.com and tell us the platform, what you clicked and what you saw.